
Setting up LTI 1.3 in Blackboard
Integrating LTI 1.3 (Learning Tools Interoperability) into Blackboard can enhance the learning experience by seamlessly connecting external tools and applications. If you're looking to set up LTI 1.3 in Blackboard, this article provides step-by-step instructions to ensure a smooth configuration process. From registering the application in the Blackboard Developer Portal to creating placements, we'll walk you through each stage, enabling you to harness the full potential of LTI 1.3 and leverage its benefits within your Blackboard environment.
- If migrating from LTI 1.1 to LTI 1.3 follow these steps first: Migrating from LTI 1.0/1.1 to 1.3 in Blackboard
1. First, go to your group’s admin dashboard.
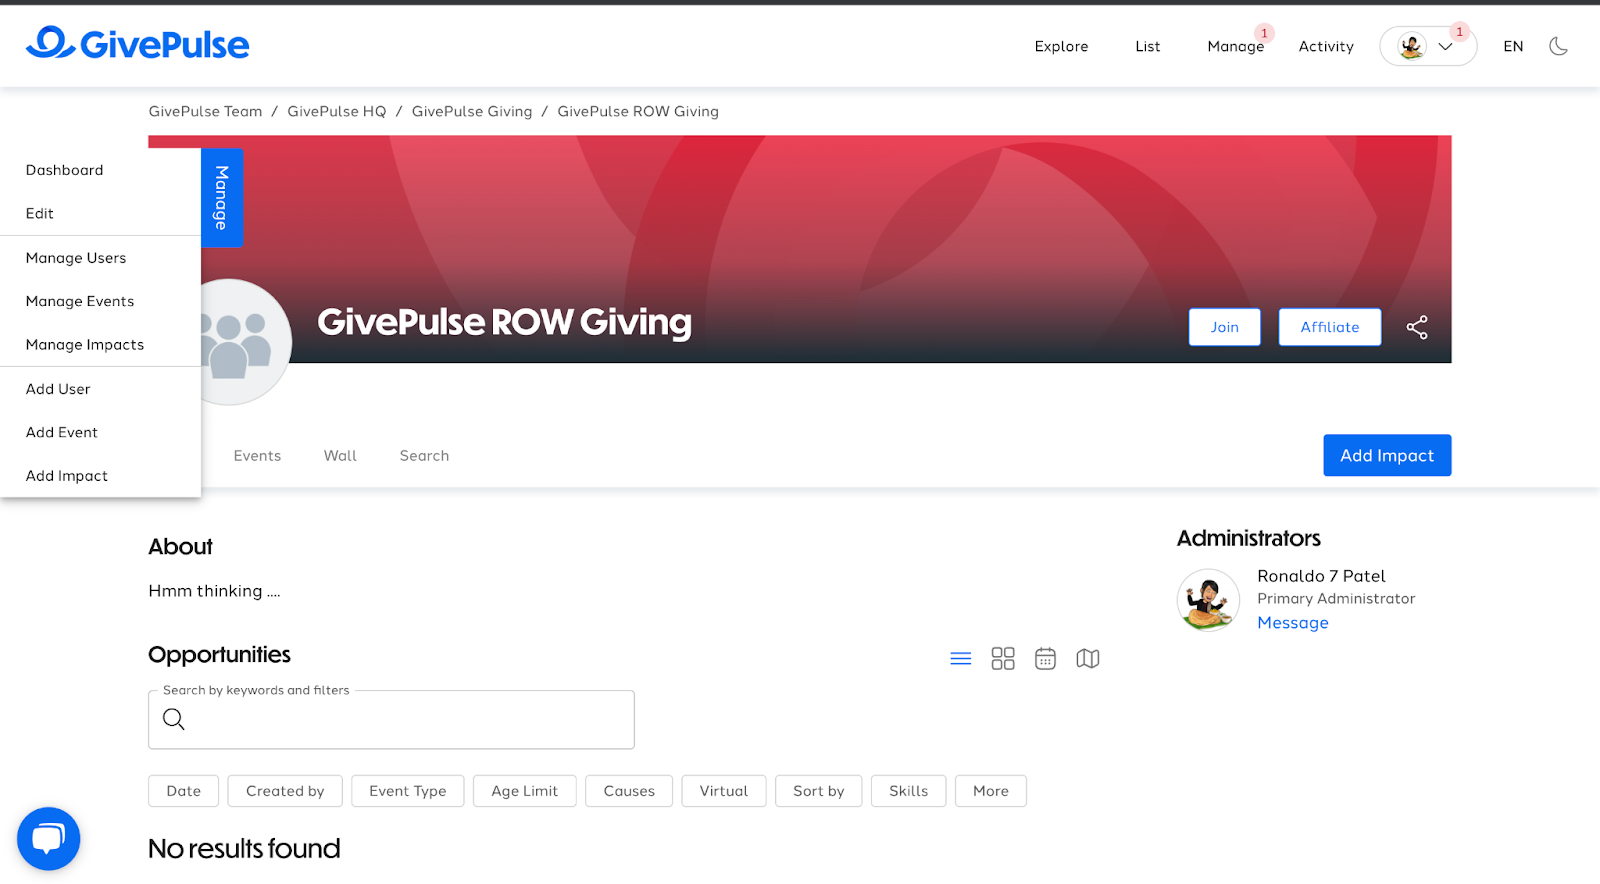
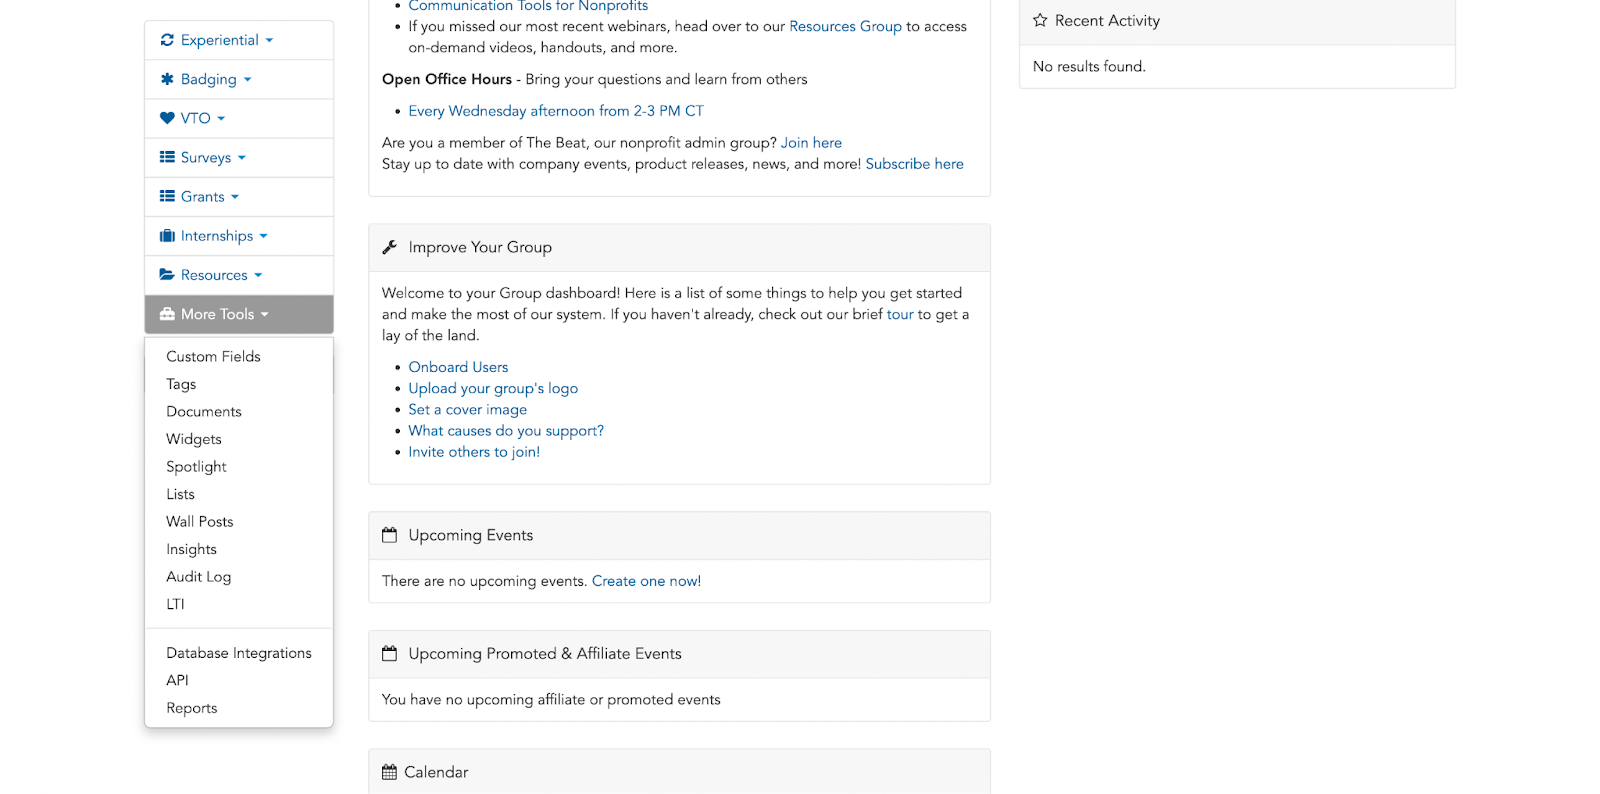
2. Click on 'More Tools' and then 'LTI.'
You will then see the below LTI Configuration screen.

4. In the new tab Register 'GivePulse App' within Blackboard Developer Portal.
-
- If you do not have an existing account, make sure to sign-up.
- If you do have an account, you will need to log in.
5. Select 'Register a New Application' and complete the following:
-
- Application Name: GivePulse
- Description: GivePulse
6. Copy and paste the domain field from the LTI Configuration page you opened earlier.
7. Turn on the “My Integration supports LTI 1.3” toggle.
8. Copy the OIDC Connect Initialization from GivePulse and Paste this value into the Blackboard Login Initiation URL field
9. Copy the OIDC Redirect from GivePulse and Paste this value into the Blackboard Tool Redirect URL(s) field
10. Copy the Keyset URL from GivePulse and Paste this value into the Blackboard Tool JWKS URL field
11. Set the Signing Algorithm to RS256 within Blackboard
12. Click on the "Register Application"
13. You will see the below screen:
14. Copy the Application ID from Blackboard (Please note we will use this same value again shortly)
15. Paste this value into the Client ID field in GivePulse
16. Fill out all the other fields in GivePulse using the values you got from the above screen.
17. In a new tab open Blackboard and Login as a Blackboard Admin.
18. Navigate to Admin Panel and click on LTI Tool Providers under the Integrations tab
19. Click Register LTI 1.3/Advantage Tool
20. Client ID: Use the “Application ID” we got from the previous section
21. Click “Submit” and continue
- Set “Tool Status” to “Approved”
- Check all “User Fields to Send”
- Copy the “Deployment ID” value from Blackboard, Paste this value into the Deployment ID field within GivePulse and click on the Save button
22. In Blackboard click Submit and Expand the menu by hovering on the tool’s name or by clicking the drop down arrow to the right.
23. Select Manage Placements and Create Placements
Comments
0 comments
Article is closed for comments.