
There may be situations where you need to view and manage your registrations, including changing a shift or completely canceling your registration.
This article will cover the following information:
- Viewing Your Registrations
- Update a Registration
- Cancel a Registration
Learn how to manage and remove your existing event registrations directly through your user dashboard. This guide simplifies the management & cancellation process so you can keep your volunteer schedule up to date.
1. Navigate to "User Icon" (Profile in the top right corner)
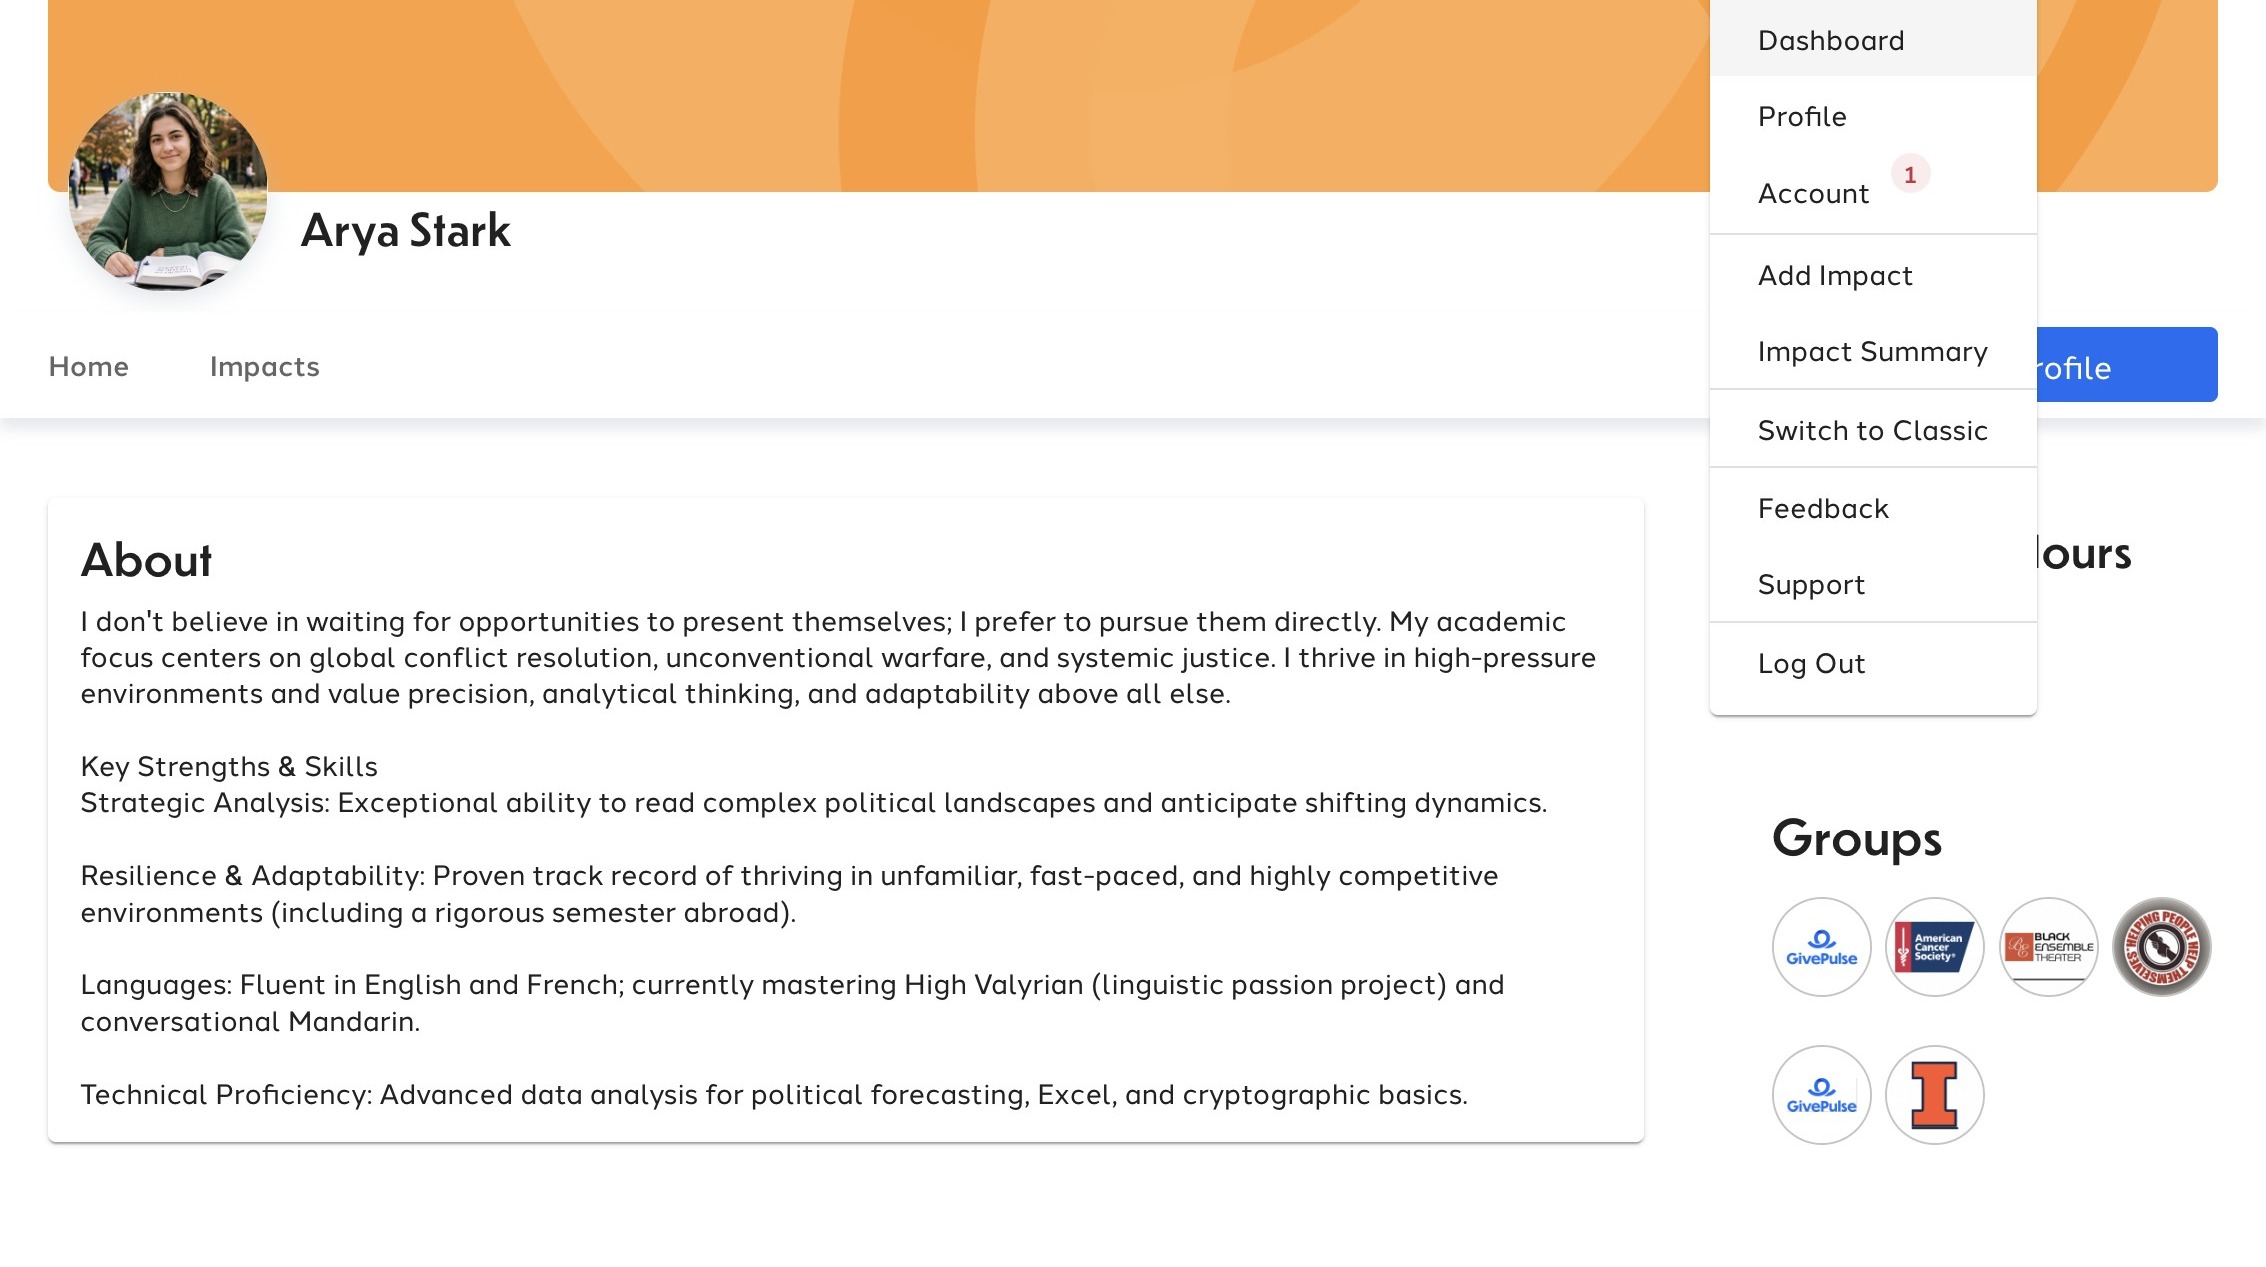
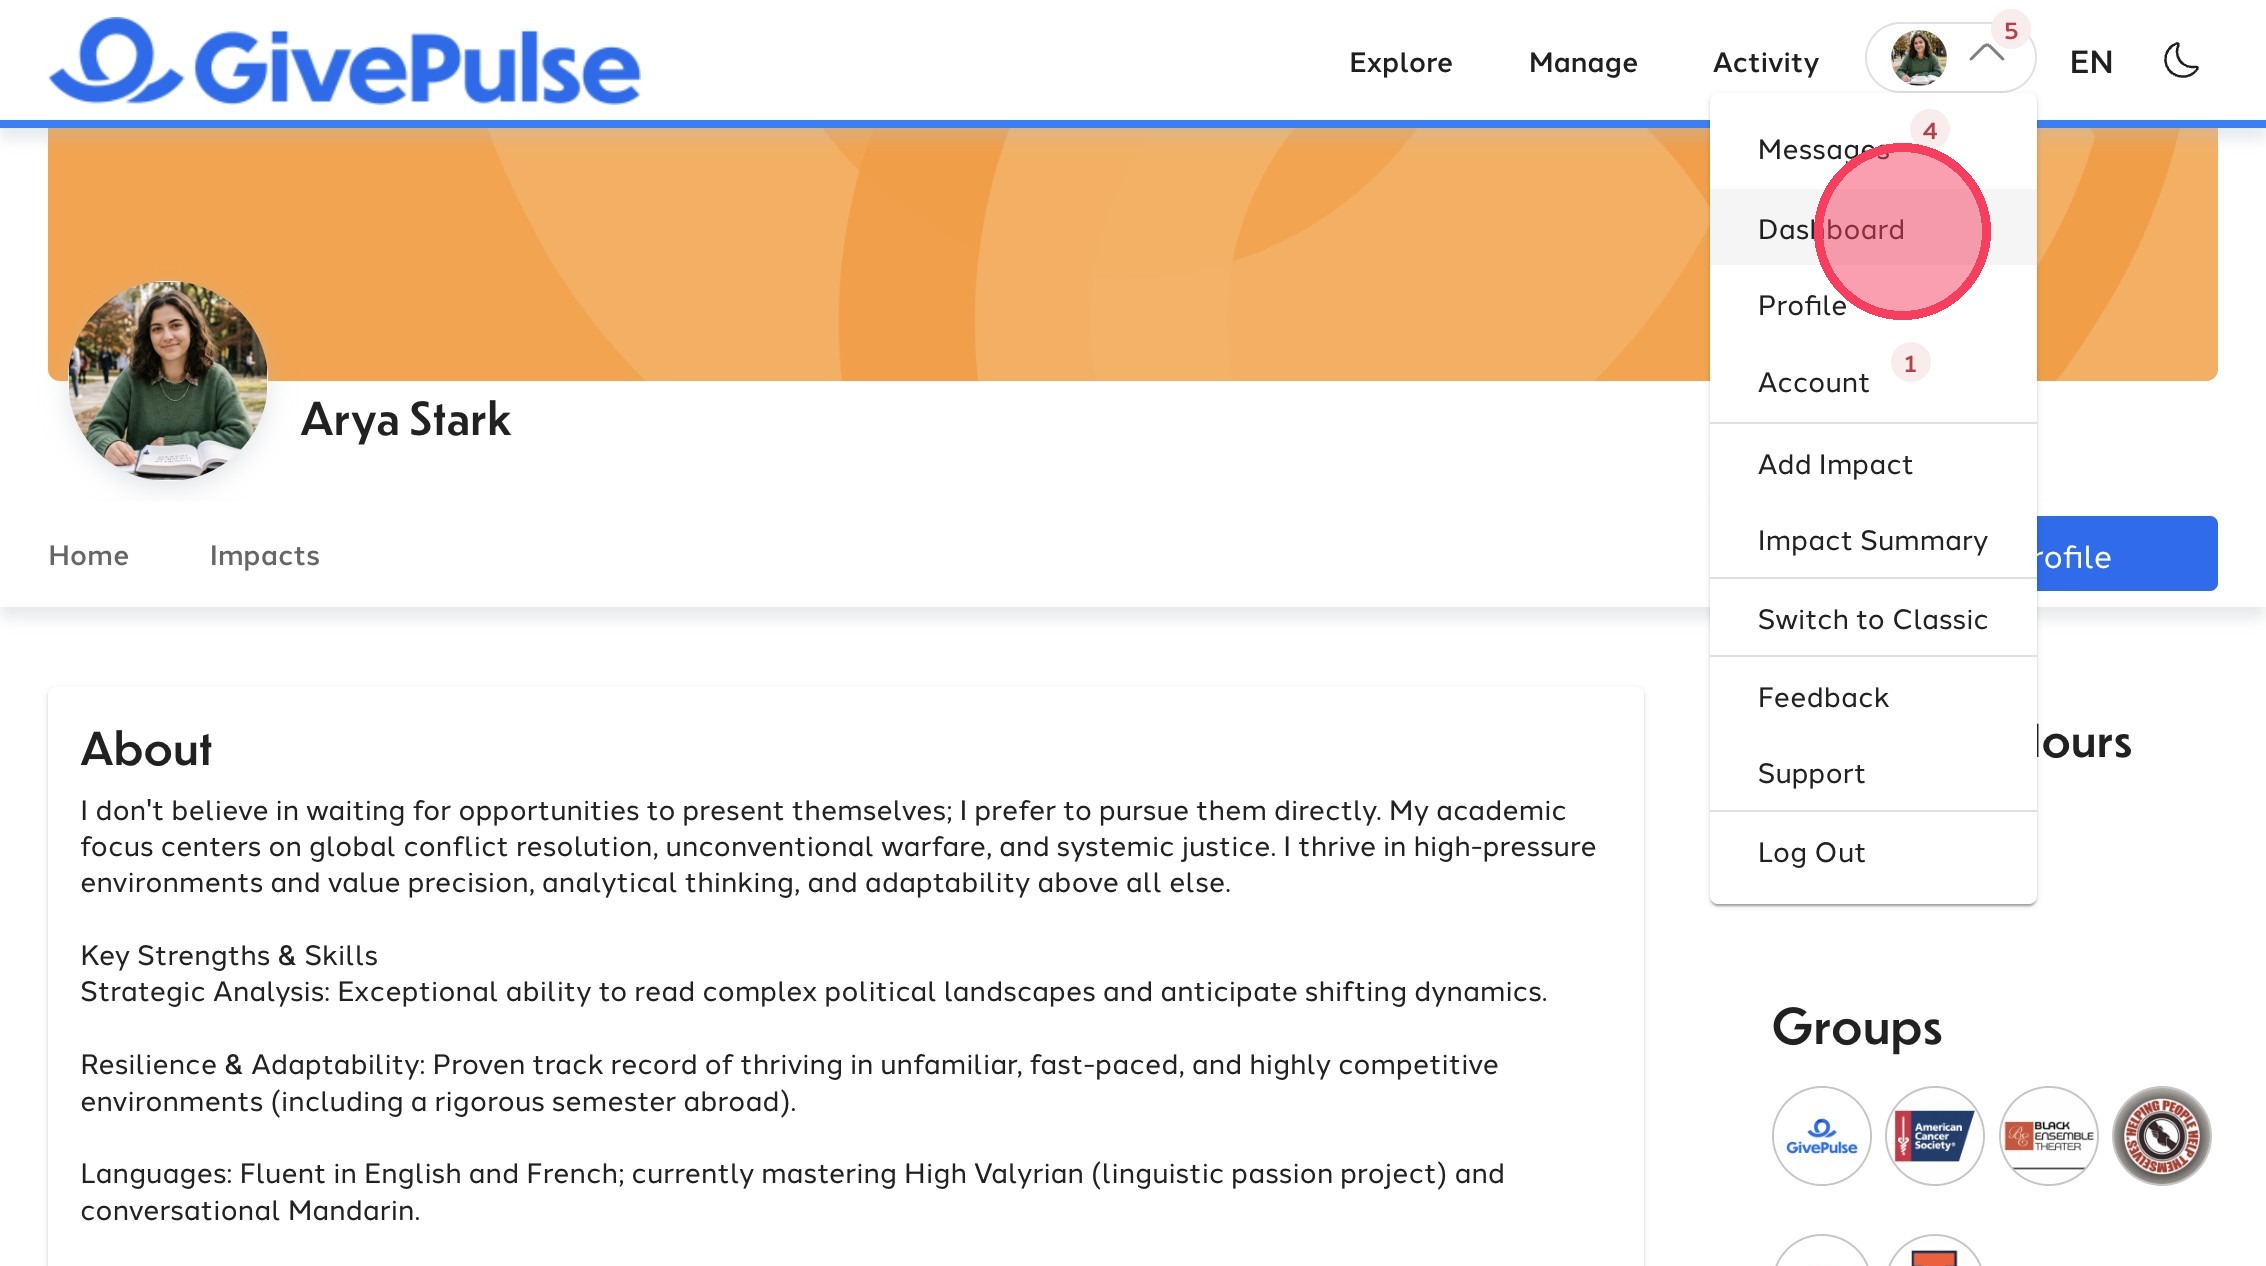
2. Click "Dashboard"
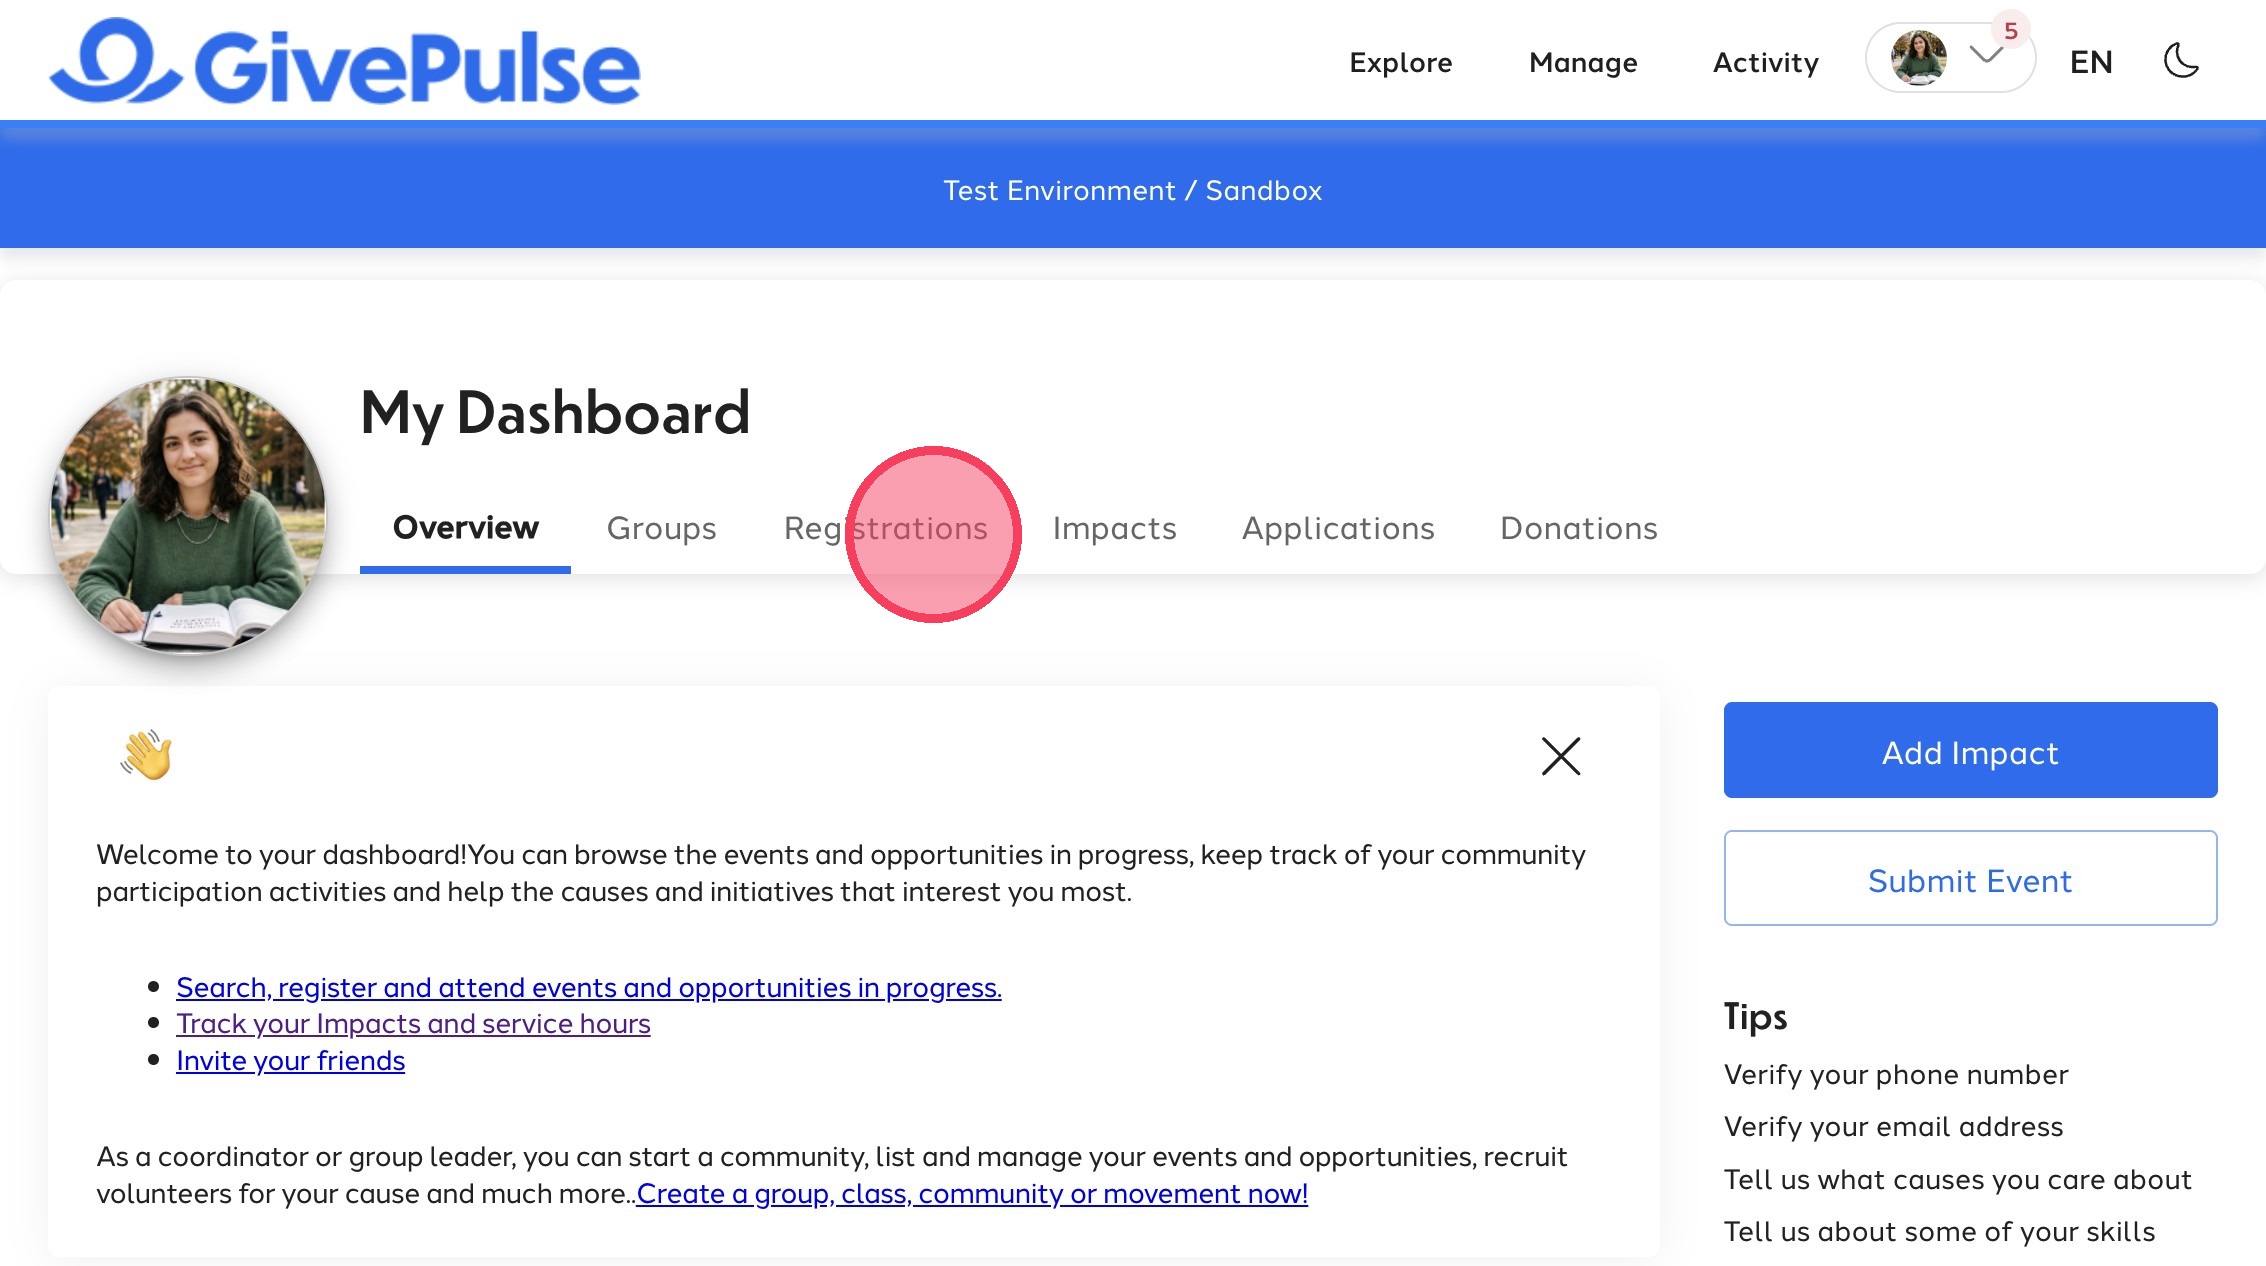
3. Select "Registrations" tab
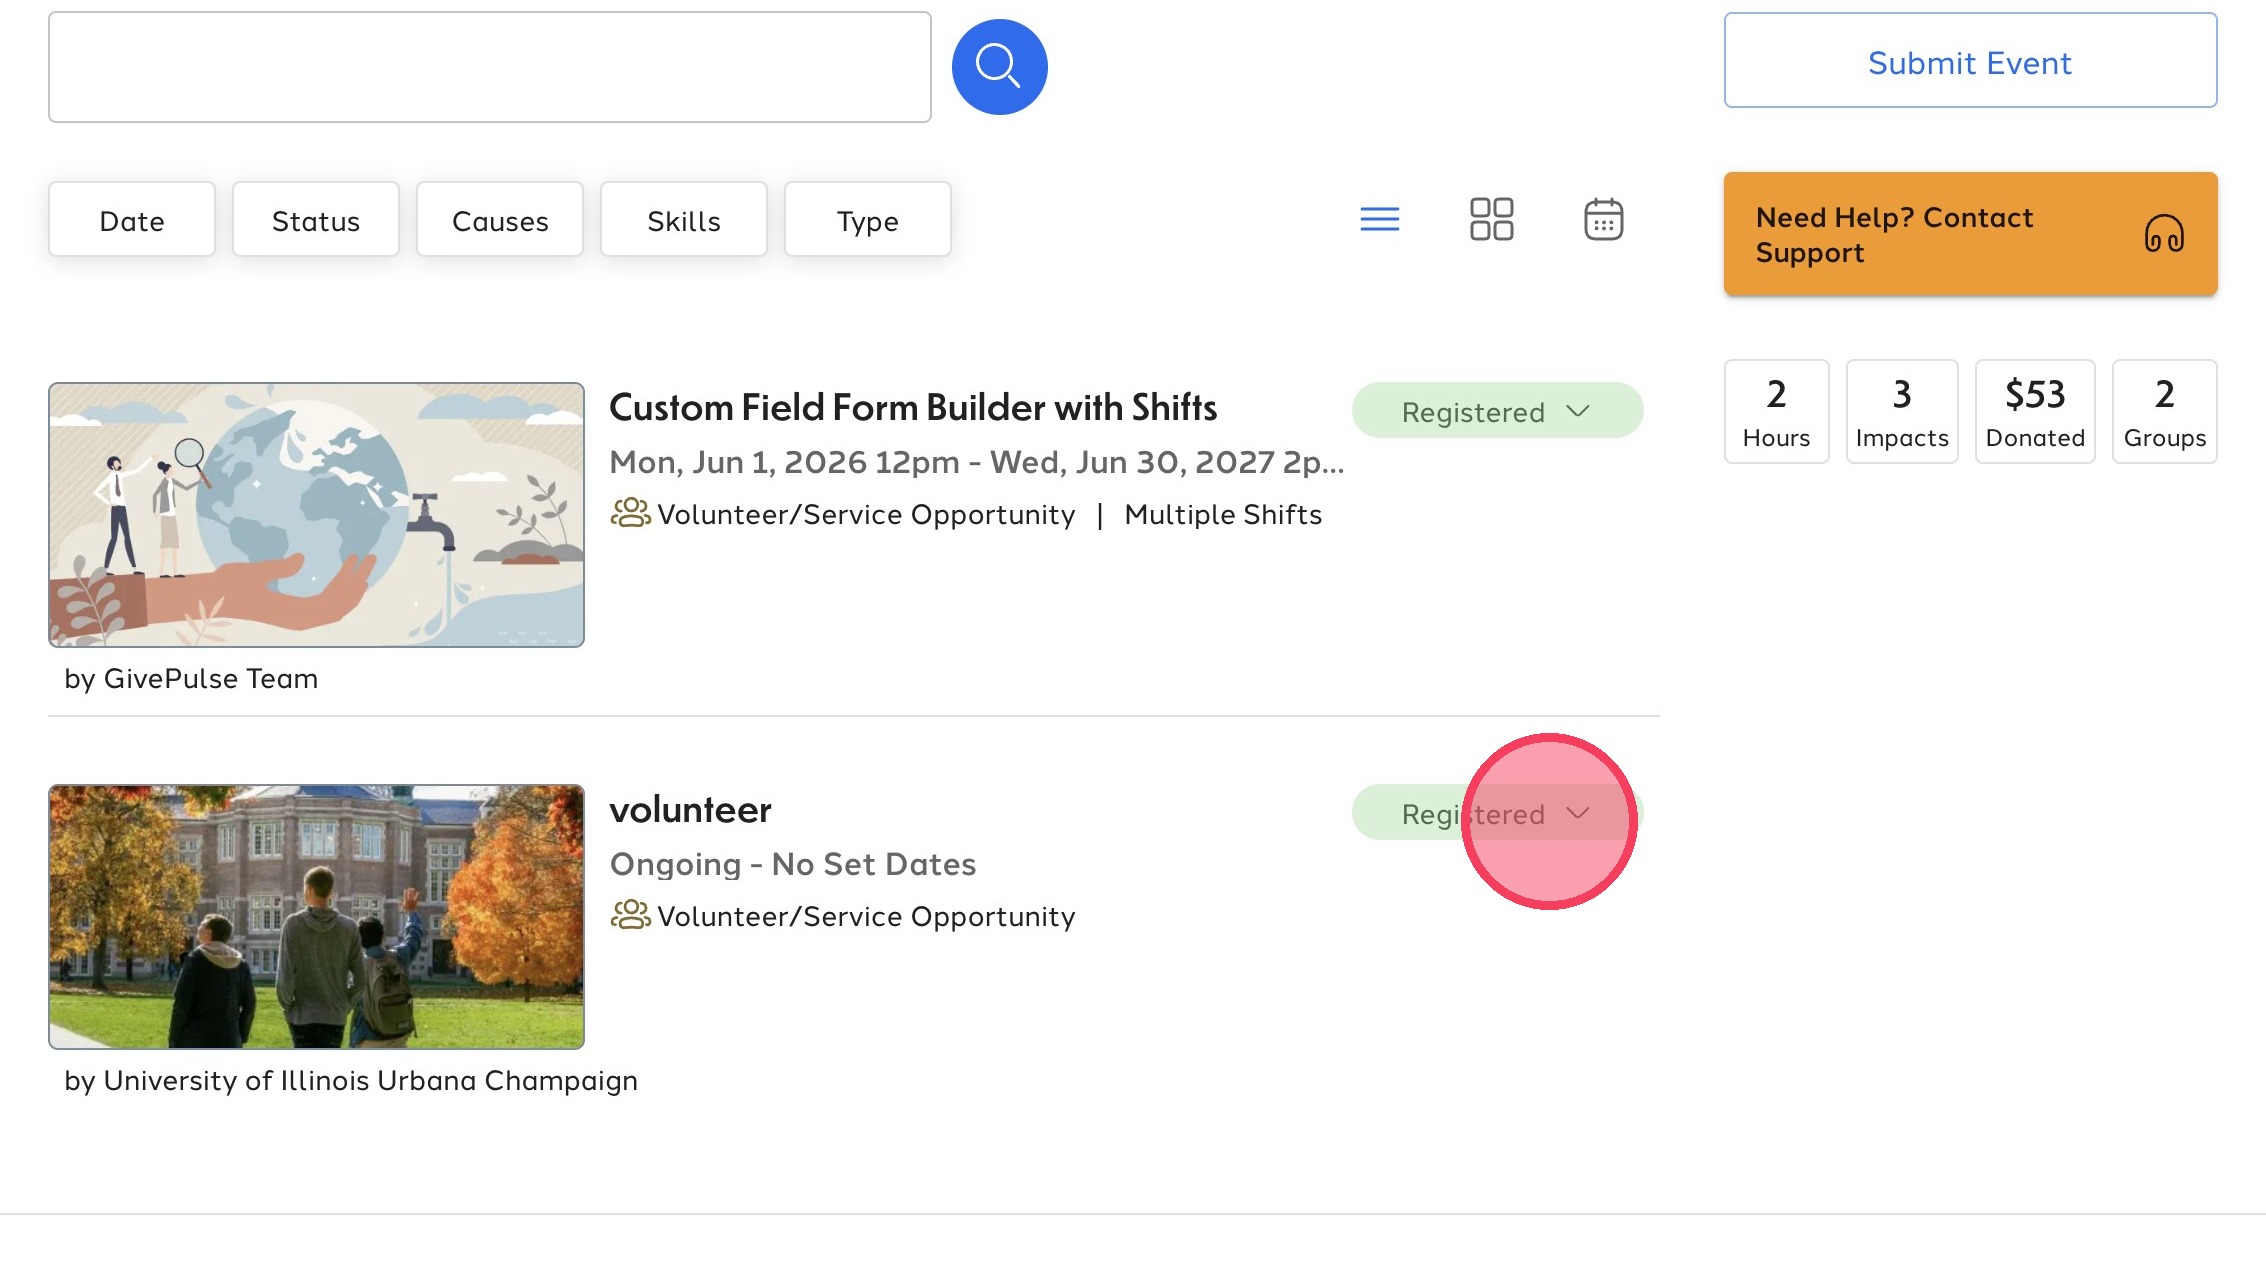
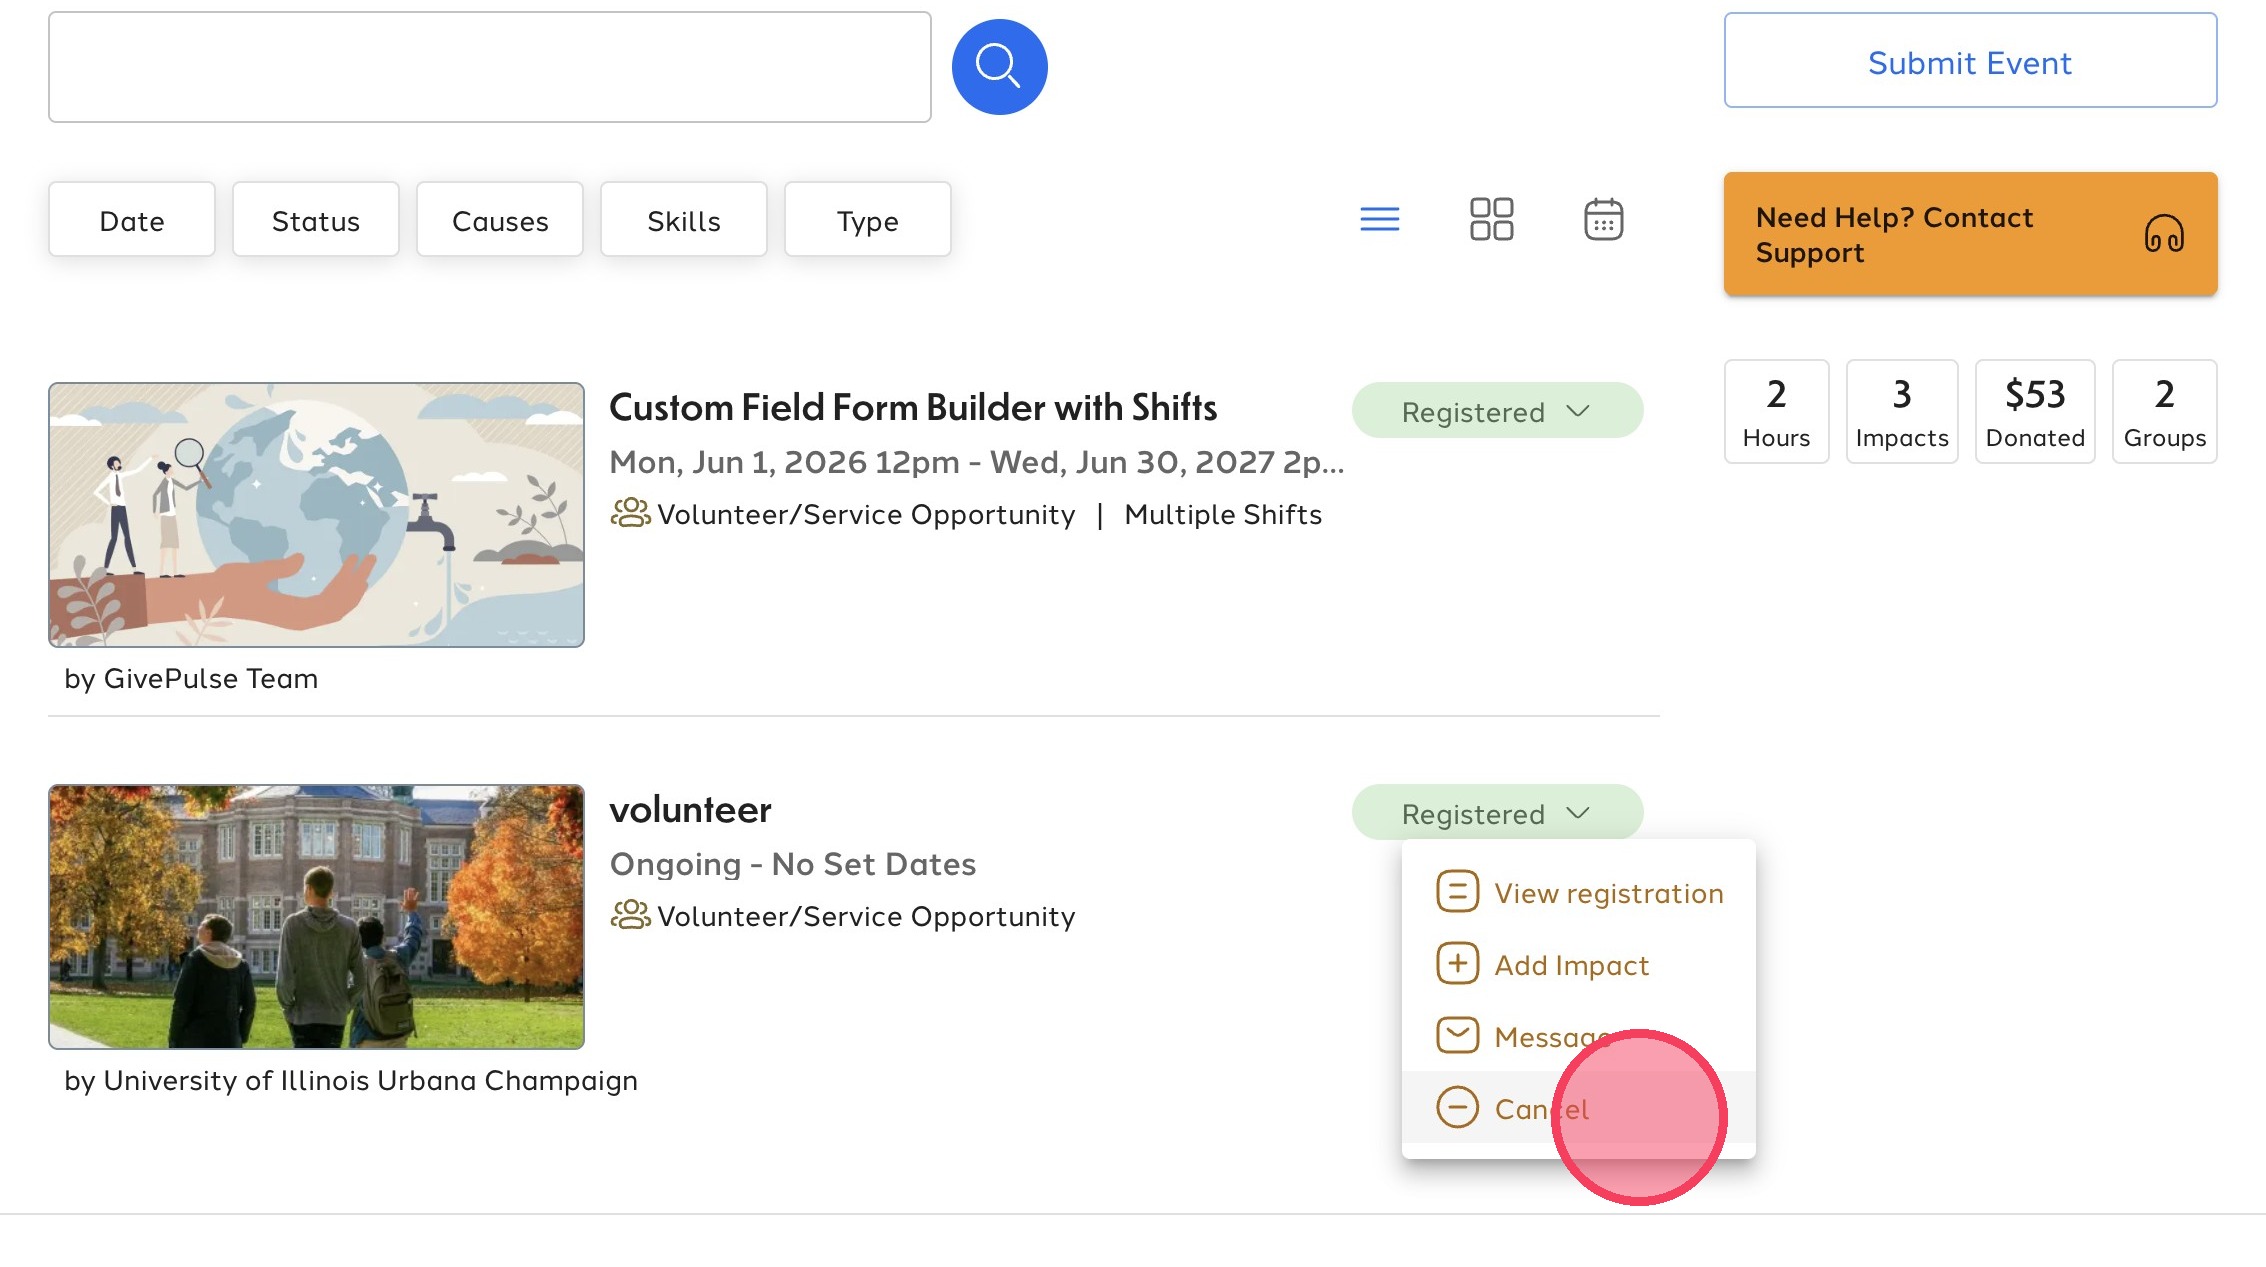
4. Select "Cancel" from the "Registered" dropdown menu
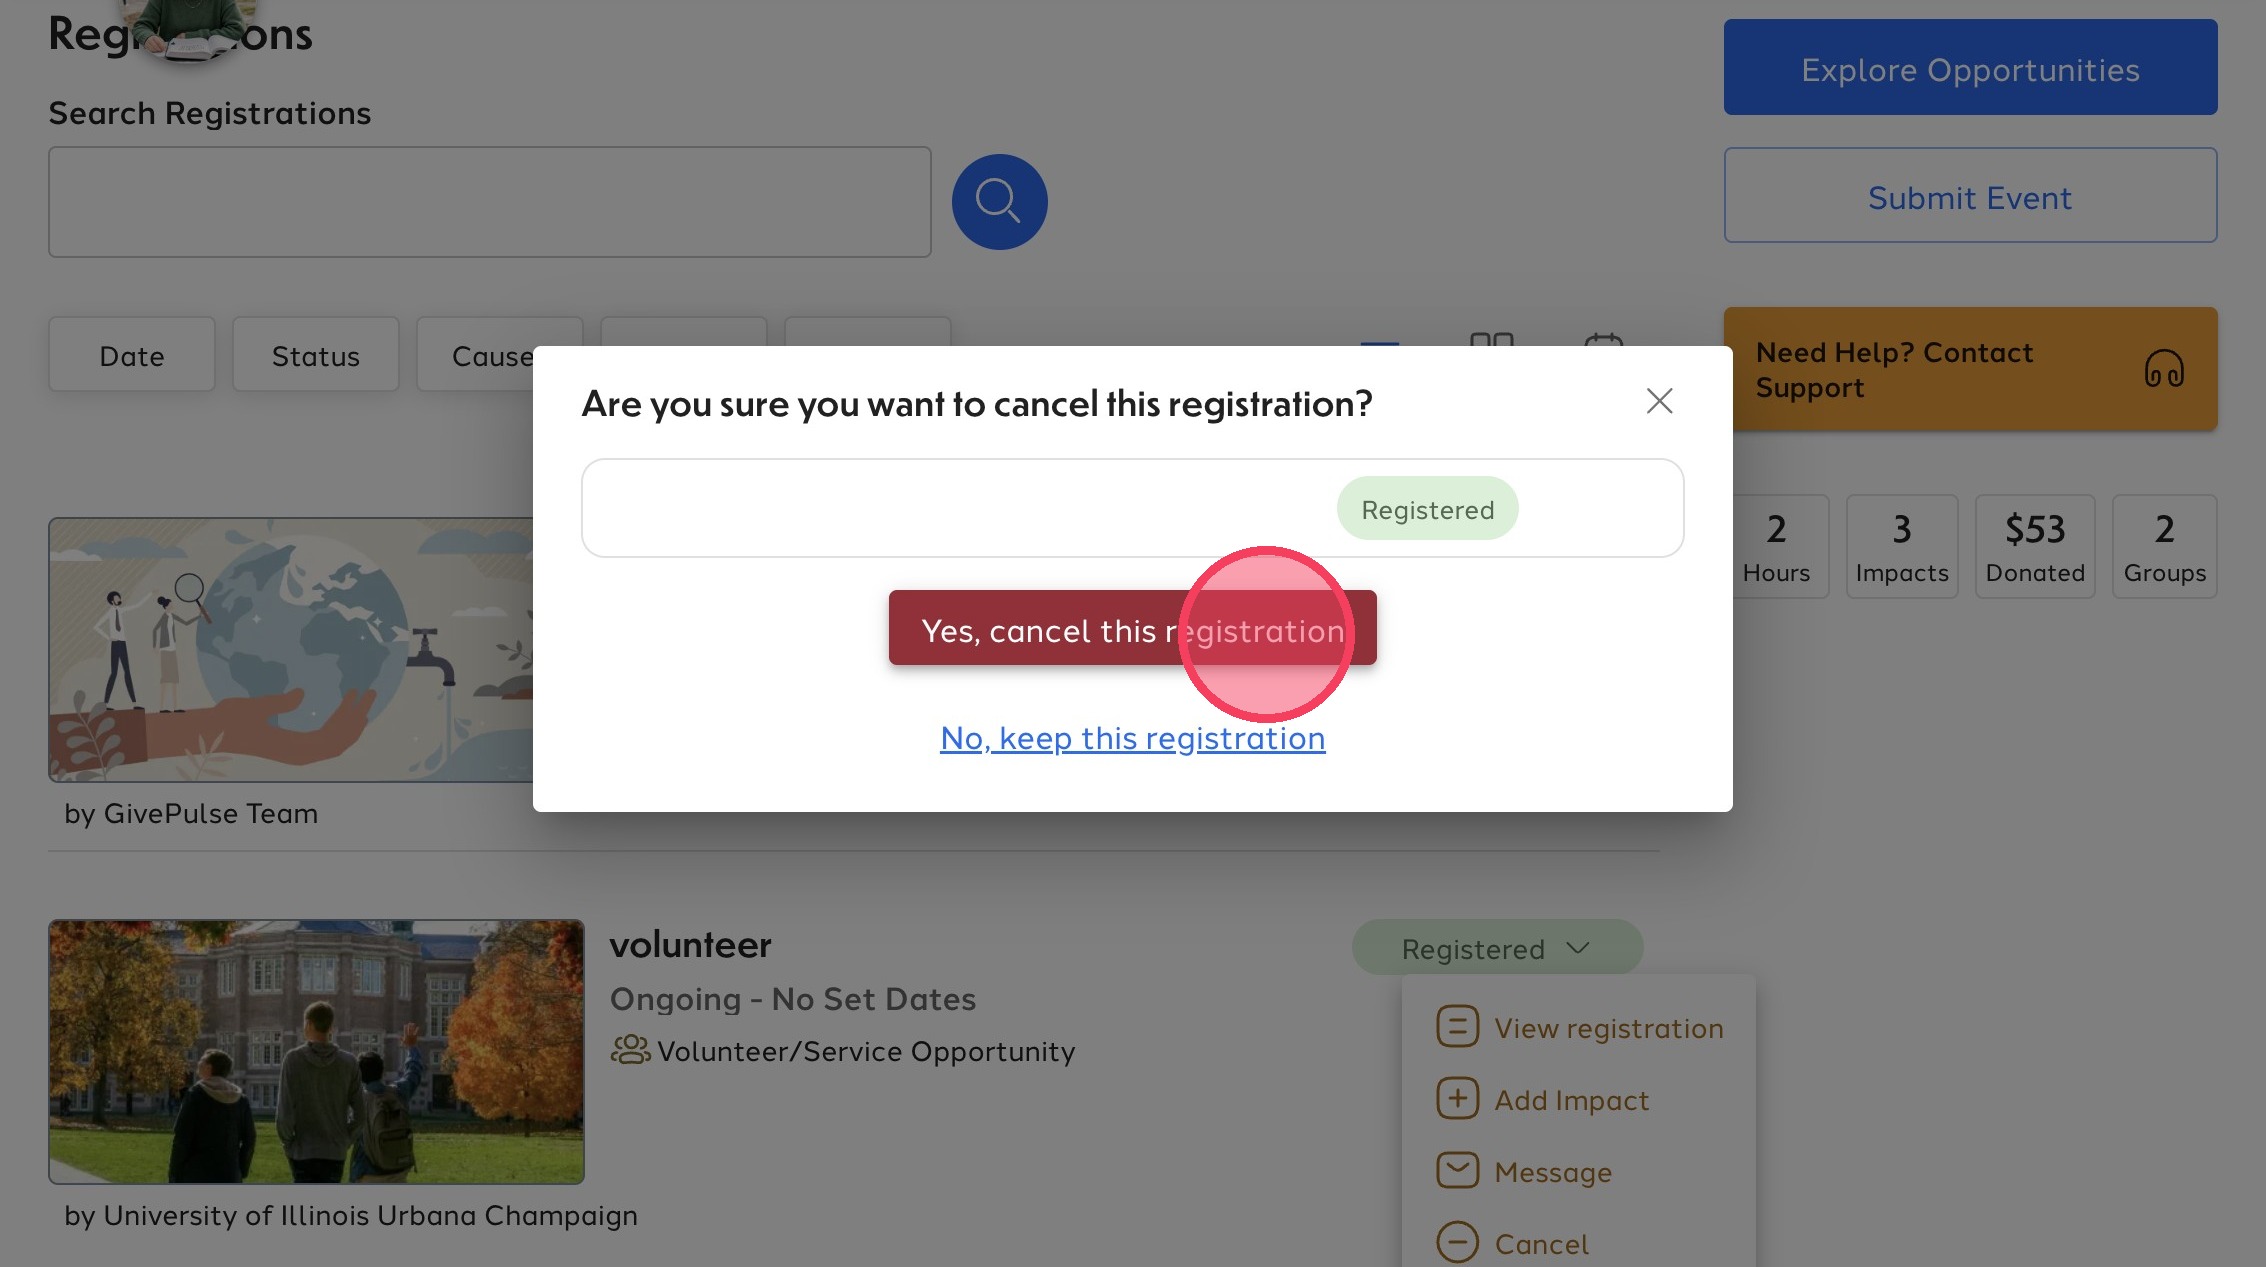
5. Click "Yes, cancel this registration" to confirm
Viewing Your Registrations
You can view your registrations from your User Dashboard by clicking on your user icon in the upper right corner and going to Dashboard > Registrations.
From here, you'll be able to view and manage all of your GivePulse registrations. You can also view registration tags from this page, which can help you track event categorizations. The tag will be visible on the event card under the event details.
Update a Registration
Updating a registration allows a user to change information in their registration form or change to a different shift (if applicable). To update your registration, navigate to the event for which you are registered by clicking Activity > Registrations in the top navigation bar.
New View
On the event page, click Update Registration.
If it's an event with multiple shifts, you can choose to add, remove or change shifts before clicking Next.
Proceed through the remainder of the registration process to complete the updates to your registration. Once complete, you'll receive a confirmation email with the updated registration information.
Cancel a Registration
Canceling a registration will alert the event administrator that you are no longer planning to participate in a volunteer opportunity.
GivePulse Pro Tip: If you are attempting to change to a different shift, we recommend updating your registration, as opposed to cancelling it.
To cancel a registration, navigate to the event for which you are registered by clicking Activity > Registrations in the top navigation bar. Locate the event and click More Options > Cancel Registration.
Note: If the cancellation deadline has passed, you will not be able to cancel your own registration. You will need to contact the group/event administrator. Learn more about how to Contact a GivePulse Group Administrator.
Comments
0 comments
Article is closed for comments.